Focusing the camera properly is one of the basic prerequisites for taking a good photo. Unless it is a creative intent, blurred objects in an image are always perceived as a photographer's mistake. Plus, it's a fail that can't be fixed later. Therefore, focusing properly is one of the photographer's key steps. Many of them rely entirely on their camera's automation in this area. Surprisingly, he discovers at home that some images are not sharp at all or are in focus on another subject.
Why do such errors occur? There are several reasons, but they can be divided into two groups. Either the subject was moving relative to the camera (and it does not matter if the camera or subject was moving) or the subject was out of the depth of field of the lens. However, these errors can be easily prevented.
Elimination of relative movement
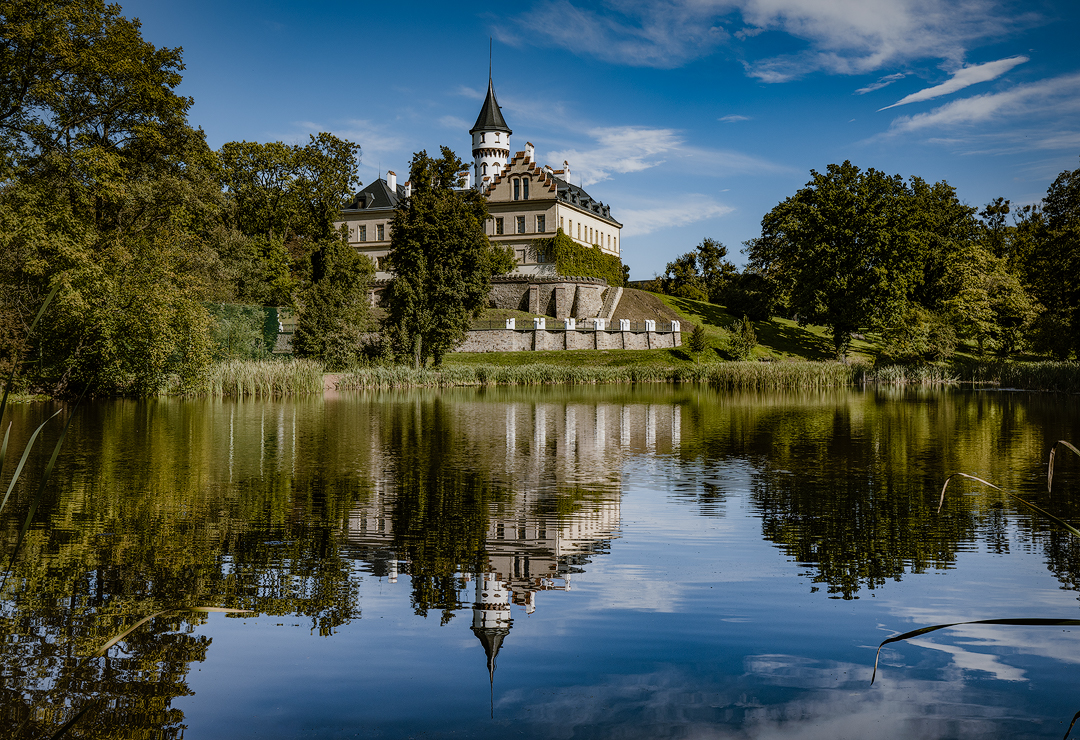
The advantage of landscape photography is the fact that most of the photographed objects, whether they are mountains, trees or castles, are immobile. So just focus on preventing the movement of camera. The tripod, which is robust enough to ensure the stability of the camera even in adverse weather conditions, plays an important role here. Nevertheless, the use of a remote shutter or at least a time delay to open the shutter is recommended. When shooting from a tripod, be sure to turn off the lens stabilizer, if your lens is equipped with optical stabilization.
Při focení bez stativu, tedy z ruky, je potřebným řešením k zajištění ostrosti snímku nastavení krátké doby expozice. Vyzkoušejte si sami, jaké časy jste schopni z ruky udržet. Většinou je nutno nastavit dobu expozice na 1/125 a kratší. Počítejte s tím, že při použití delší ohniskové vzdálenosti, například u teleobjektivu, je nutno tento čas ještě zkrátit, neboť i mírné chvění fotoaparátu se výrazně projeví v neostrosti snímku.
Depth of field setting
In order to set the right depth of field, it is necessary to consider whether I want to have a sharp whole image or only a selected part of it. Objects that I want to have sharp in the image must be in the area specified by the depth of field. There are a number of applications that determine the depth of field for a given camera setting. Among the most popular is considered application Photopills.
Depth of field is defined by the following settings:
- By adjusting the camera aperture - larger aperture = greater depth of field
- Distance of subject from the camera - longer distance of the focused subject from the camera = greater depth of field
- Focal length of lens - smaller focal length = greater depth of field
- Size of camera sensor - larger sensor = greater depth of field. However, I cannot change this parameter.
At first view, it looks complicated and you can say that you leave everything to automation. However, with such an approach, the errors I mentioned in this post´s introduction occur. This often results in an image that is blurred in the foreground or background.
I believe that it is worth thinking about this information. For example, try a simple calculation to find the answer to the following question. If the subject is 2 m tall and I want to shoot it sharply with different lenses (different focal lengths) for the entire height of the photo, how far from the subject do I have to be and what will be sharp in the image (what is the depth of field)?
For example, when choosing an aperture of f/8 and I have a full frame sensor in my camera, I get the following answers:
- Focal length - 16 mm. Distance from the object 1.33 m (so that the object is at the full height of the photo frame). Depth of field is from 0.6m to infinity.
- Focal length - 50 mm. Distance from the object 4.15 m. Depth of field at f/8 is from 2.98 m to 6.84 m
- Focal length - 200 mm. Distance from the object 16.6 m. Depth of field at f/8 is from 15.11 m to 18.41 m. You can see that the depth of field is very narrow.
Three basic findings will outcome from this simulation:
- a short focal length lens (wide angle lens) has a greater depth of field with the same aperture
- closer you stand to the subject, a larger aperture should be to get "everything" in the image focused.
- even if you have a zoom lens, it is often necessary to “zoom” with your feet and choose the appropriate distance from the subject
Manual focusing
So far, we have dealt with the theory that explains the issue of proper focus. But how to focus well in the field? Is it necessary to calculate the depth of field?
You learn by your practice. To begin with, I recommend focusing on a suitable larger distant subject, which is located in the far half of the image, and then check if the objects in the foreground are focused. If they are not focused, it is necessary to increase the set aperture. Note that at high apertures, such as f/16 and above, light defraction occurs. This means that the outlines of objects are slightly blurred.
Using lens with a larger focal length (eg 100mm), sharpness can no longer be achieved with close objects and at the same time with very distant ones. The closest subjects in the foreground must be at a longer distance, such as at least 20-30 m. Therefore, it is more suitable for taking pictures where we want to get a great depth of field, rather to use lenses with a short focal length, it means wide-angle lenses.
Most modern cameras allow you to check the focus directly in the viewfinder or on the screen. It is often possible to set a 5-10x magnification at which the correct focus is clearly visible. It is important that you do not change the aperture, focal length, or distance from the subject after focusing the camera manually. You can adjust further the exposure of the image by changing the exposure time or ISO sensitivity setting.
Be sure to switch the lens setting to manual focus (MF). When you adjust the focus manually, you must be sure that the camera´s automation will not focus on another subject.
Check the sharpness of the image
I recommend checking the captured image on the camera screen immediately on the spot. Check the sharpness of the subjects in the foreground and background of the image at maximum zoom. In windy conditions, the entire image must be checked.
Conclusion
To get a sharp image, it is sufficient to follow the following advices
- use a tripod or choose a suitable short exposure time for taking pictures from hand
- choose an optimal focal length and distance from the subject
- focus manually using the viewfinder or display
- check the sharpness of the image on the spot
If you follow these steps, all your future shots will always be sharp. There is no reason to be afraid to focus manually.
Sometimes the scene being photographed can be so complicated that you can't include it in one common depth of field. There is also a solution to this problem, which is called focus stacking. I will explain this technique next time.